This is how you can use the LANCOM myVPN app on your iOS device to retrieve a VPN profile from a LANCOM VPN device:
Note: The purpose of the LANCOM myVPN app is to set up the VPN client on iOS devices with the correct parameters and in a quick and easy fashion. The establishment of the VPN connection to the company network itself is handled directly by the VPN client in the iOS device.
-
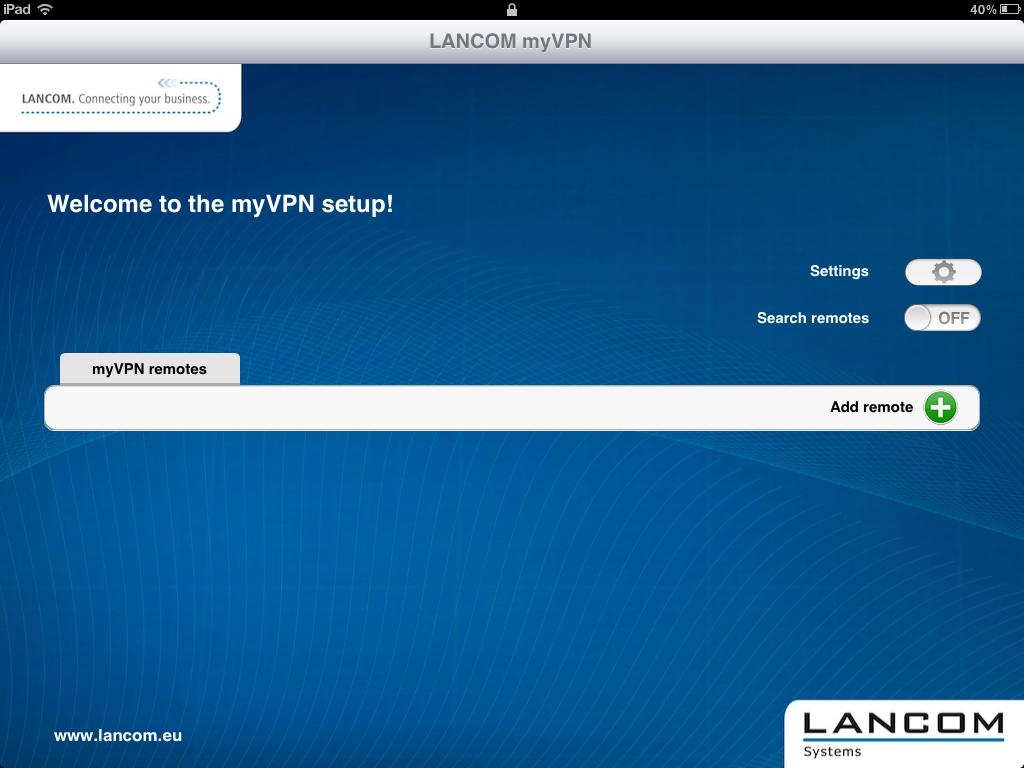
Open the app on your iPhone or iPad.
-
Optional: Enable the option Automatic search to find VPN devices with an activated LANCOM myVPN module, which are available to iOS devices via WLAN.
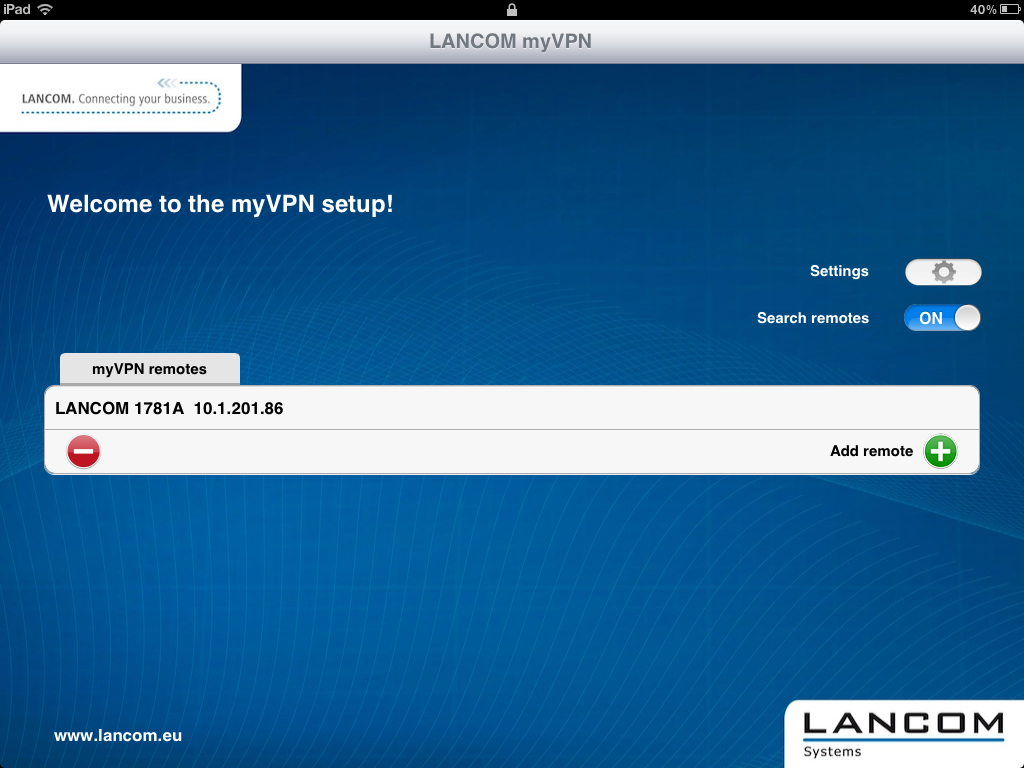
Important: The iOS device now lists all VPN devices which are accessible via WLAN and which have an active LANCOM myVPN module. However, the inclusion of an entry in this list does not necessarily mean that your iOS device can retrieve a LANCOM myVPN profile from this VPN device. -
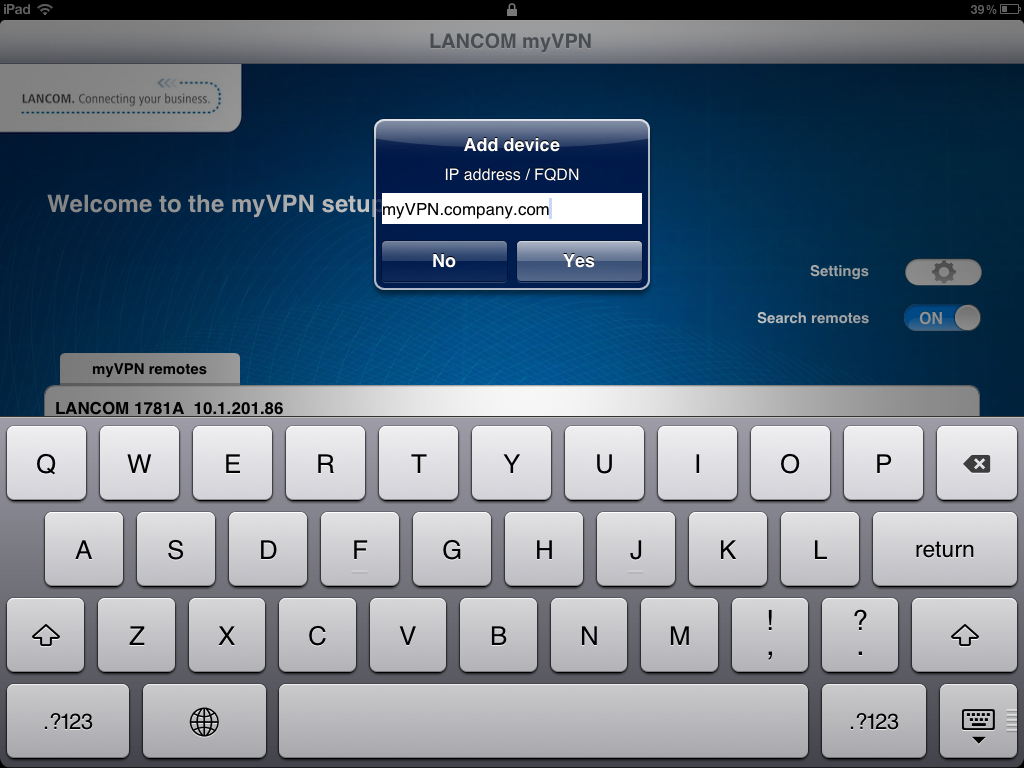
Optional: Select the option Add device manually to enter the IP address or name of VPN devices that the iOS device can access via an Internet connection (3G or WLAN). In the dialog that follows, enter the IP address or the name of the VPN device and confirm with Yes.
-
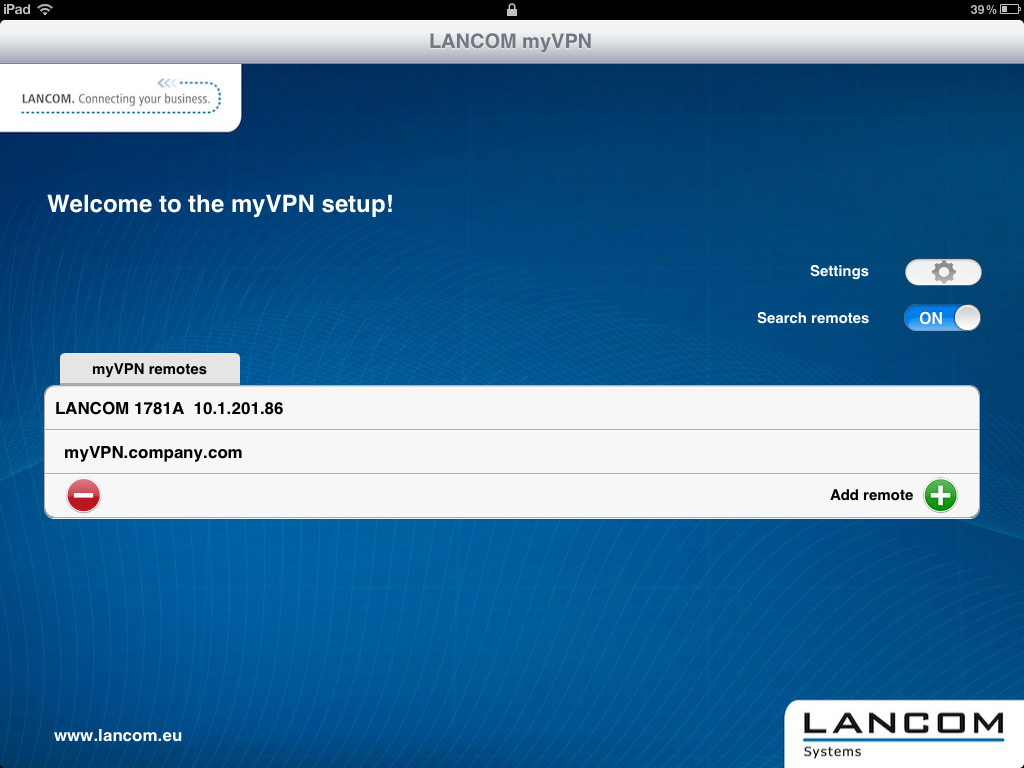
The app now displays all VPN devices that offer profiles for the LANCOM myVPN app.
-
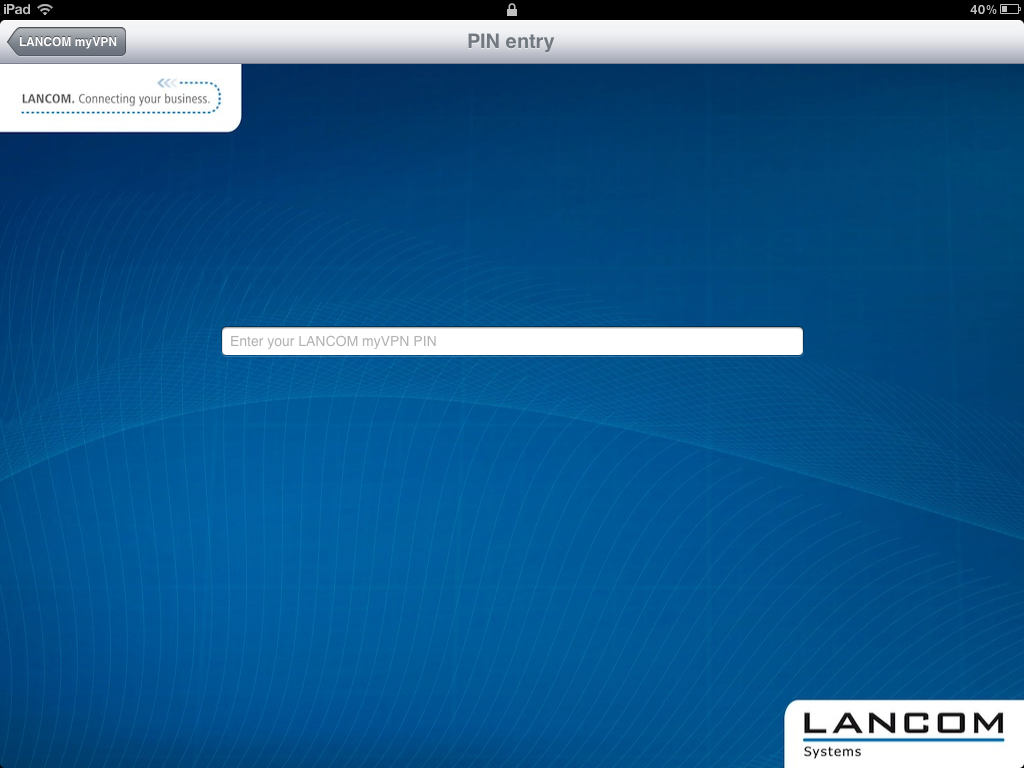
Tap on the entry in the list to select the desired VPN device and then enter the PIN required for retrieving the VPN profile.
Important: If you enter your PIN incorrectly five times, the myVPN module on the LANCOM VPN device will be completely locked for a specific time period. In this state, VPN connections remain possible for iOS devices that previously set up their VPN access accounts successfully. However, iOS devices cannot retrieve myVPN profiles from this VPN device so long as the lock is in place. An administrator can re-enable the myVPN module. -
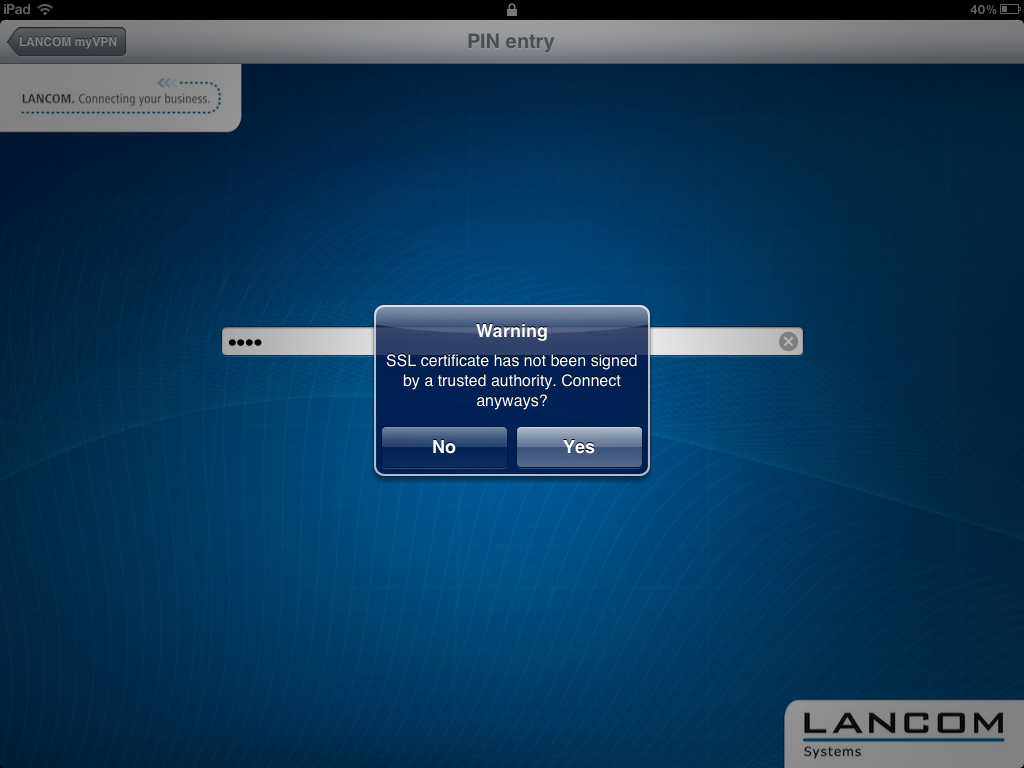
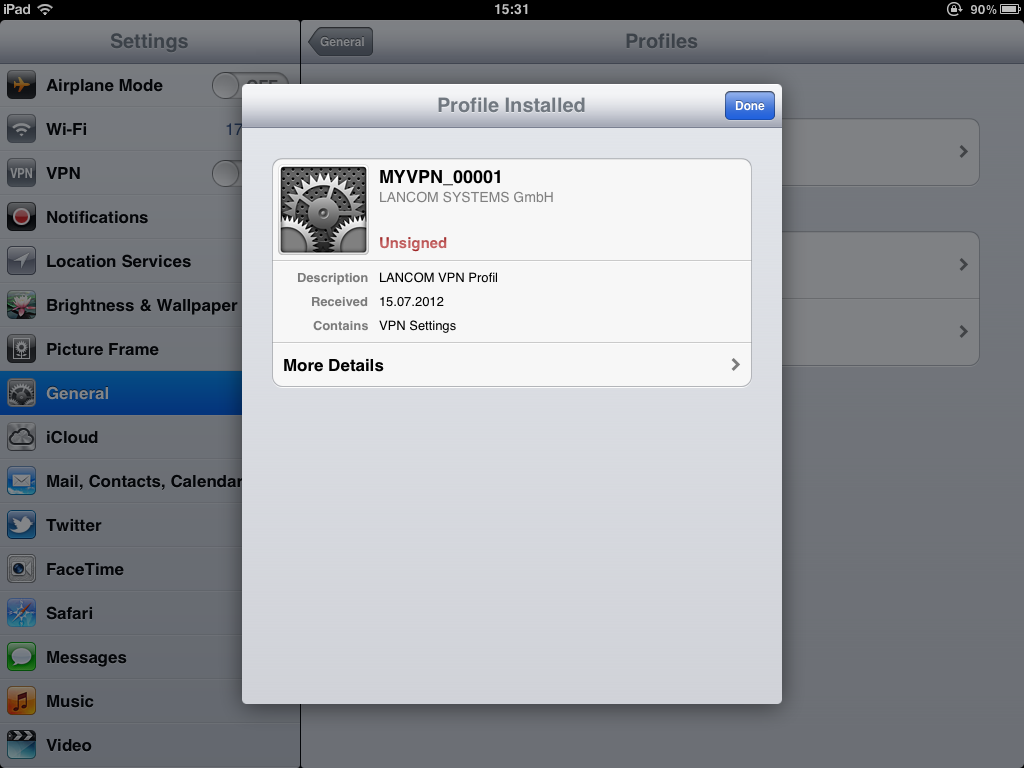
If the following dialog contains a notice about an unsigned certificate, simply confirm it with Yes.
-
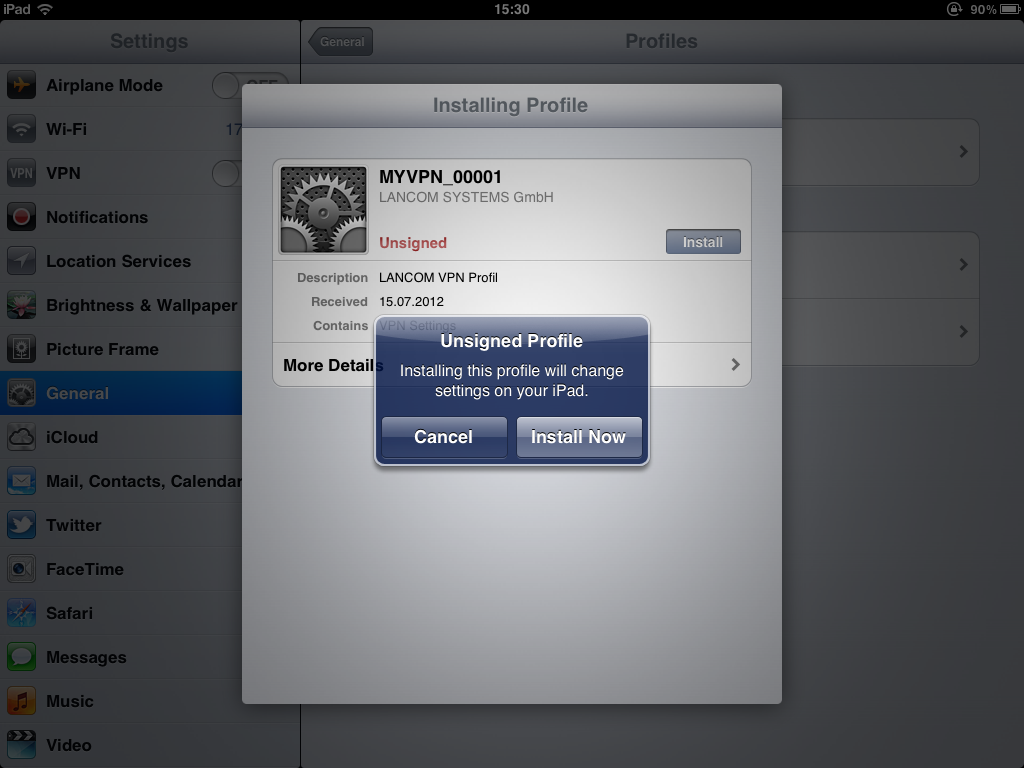
In the next dialog, confirm the request to install the profile with the Install button.

Confirm the necessary changes to the settings on your iOS device.
-
The next step of the installation routine is to enter the password for the VPN access account. By default, the VPN password is the PIN for the myVPN profile. If you enter the password for the VPN access account here, the iOS device can establish a VPN connection to your company network without requesting a password. If you leave the box for the VPN password empty, you will be asked for the VPN password every time you connect using the iOS device. Confirm your selection with the Next button.
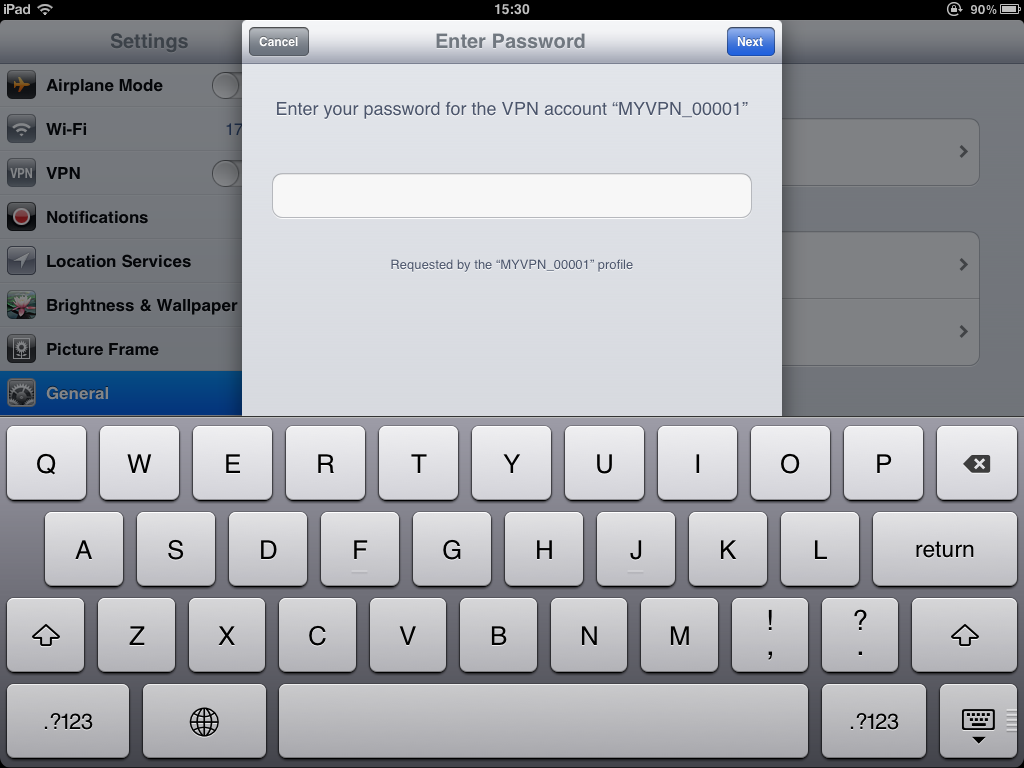
Important: For security reasons we recommend that you do not save the VPN access password on the device, but that you enter it each time you wish to connect. -
The VPN profile is now fully installed on your iOS device and is ready for setting up a VPN connection to your company network. Confirm that the installation has been concluded by clicking on the Complete button.
Once installed on an iOS device, the LANCOM VPN device disables the installation routine for this myVPN profile. You can check your status with LANconfig by navigating to the configuration area and viewing the myVPN accounts list:
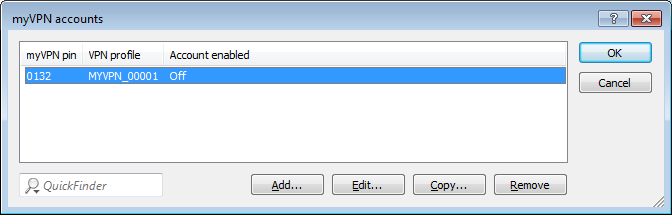
Note: By disabling the myVPN profile, other IOS device are prevented from installing the same myVPN profile and thus using the same VPN access credentials. However, disabling the myVPN profile has no effect on the VPN connection itself.