This is how to use the Setup Wizard to provide an access account for a VPN client on an iOS device:
-
Select the item Provide remote access (RAS, VPN) and then click on Next.
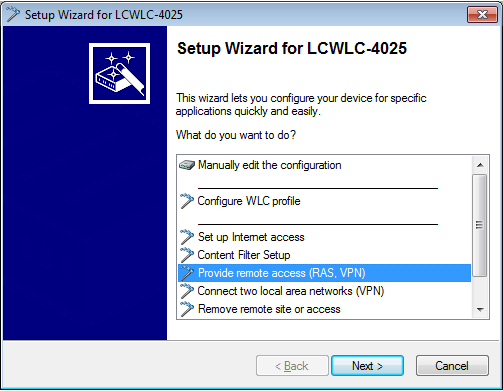
You can skip the following information dialog with Next.
-
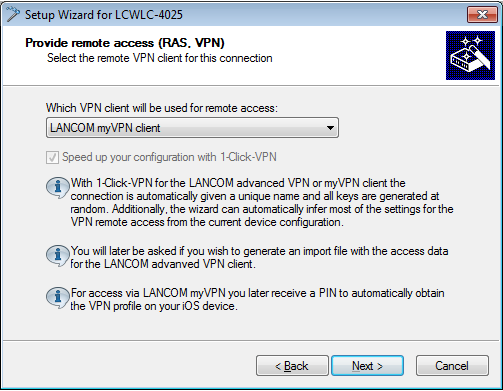
From the drop-down list select the option LANCOM myVPN client and click on Next.
-
Enter a name for this access account and select the address at which the VPN client on the iOS device can reach the router from the Internet. To continue, click on Next.
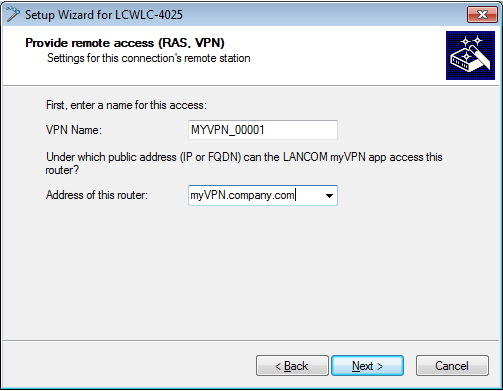
The Setup Wizard will suggest a name that you can accept if you wish.
-
If the VPN device doesn't have a pool of IP addresses configured already, the following
dialog will prompt you to specify a unique range of IP addresses as a pool. During dial-in
the VPN device will assign a free IP address from this pool to the iOS device.
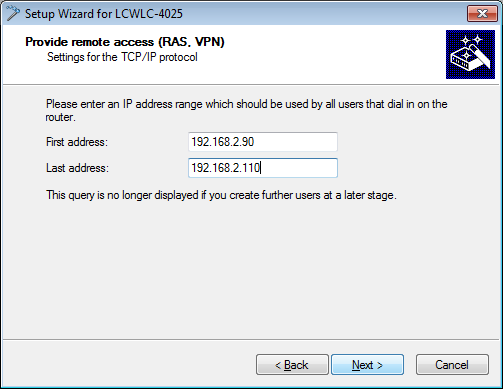 Note: If the VPN device already has configured a pool of IP addresses for VPN clients, it will automatically use this address pool and skip the dialog shown above.
 -
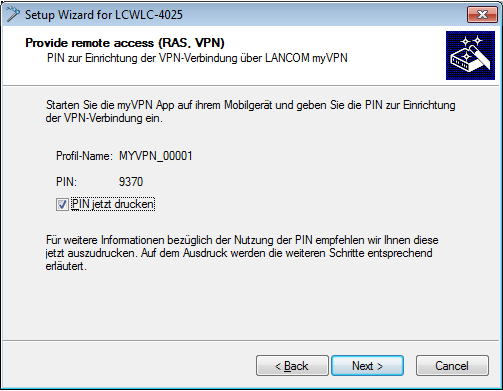
The Setup Wizard displays the profile name and the PIN that was auto-generated for the VPN client. If you want to print out the PIN now, select the option Print PIN now. Click on Next.