- HTTP tunnels are set up on the start page of WEBconfig. In WEBconfig log on to the LANCOM Wireless behind which the device to be released is located. If necessary obtain the required login data from the responsible administrator.
- In the area 'Extras', select the entry Create TCP/HTTP tunnel

- Enter the name or IP address of the device that is to be temporarily available via HTTP.
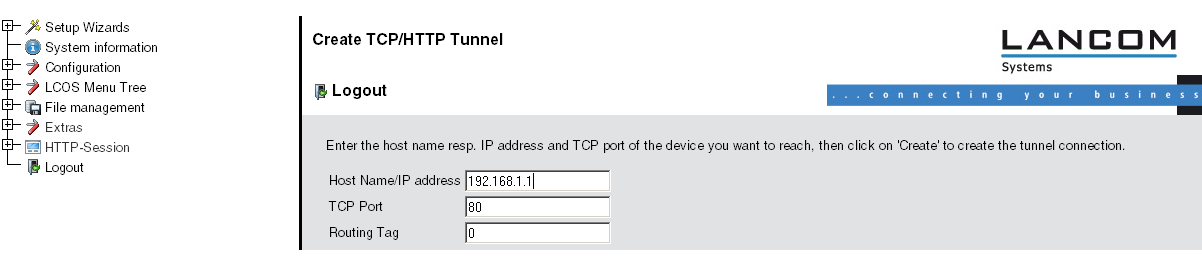
- Select a port for the HTTP tunnel and, if applicable, enter the routing tag of the IP network in which the device is located and confirm your entries with Create.
- The dialog that follows displays a confirmation of the newly created tunnel and provides a link to the device.

Note: Apart from HTTP or HTTPS-based access, remote maintenance can also be based on any other
TCP service such as telnet connections (TCP port 23) or SSH (TCP port 22).